Holley Sniper Install
Recently we installed a Holley Sniper on a 1972 Jeep J 4500 with a 360. THis install is fairly straight forward however we did learn a couple things that could help you if you are planning on installing a Sniper on your older FSJ.
We installed our O2 sensor in the driver side exhaust pipe just below the exhaust manifold. We would recommend using a weld-in O2 bung instead of the clamp on style that comes in the Sniper kit. If your FSJ still has the stock exhaust configuration the cross pipe is not difficult to remove.
For the fuel return we did utilize one of the old evaporator system tubes being there was not any easy method for adding an additional port for the return. We chose the port farthest way from the fuel pick up to attempt to minimize any aereated fuel that might be sucked into the fuel line. We did look at adding a hole and fitting the the fuel fill hose, however the system seems to work fine in its current configuration.
66-72 Turn Signal Switch Replacement
If you have an older FSJ and have looked at replacing the turn signal switch you probably realize that they pretty much are nonexistent. From our research we have found that these years AMC used a design that was not used in other common OEM vehicles. We have heard rumors that the switch was used in 70s and 80s Skoda's but we still were unable to find an exact replacement.
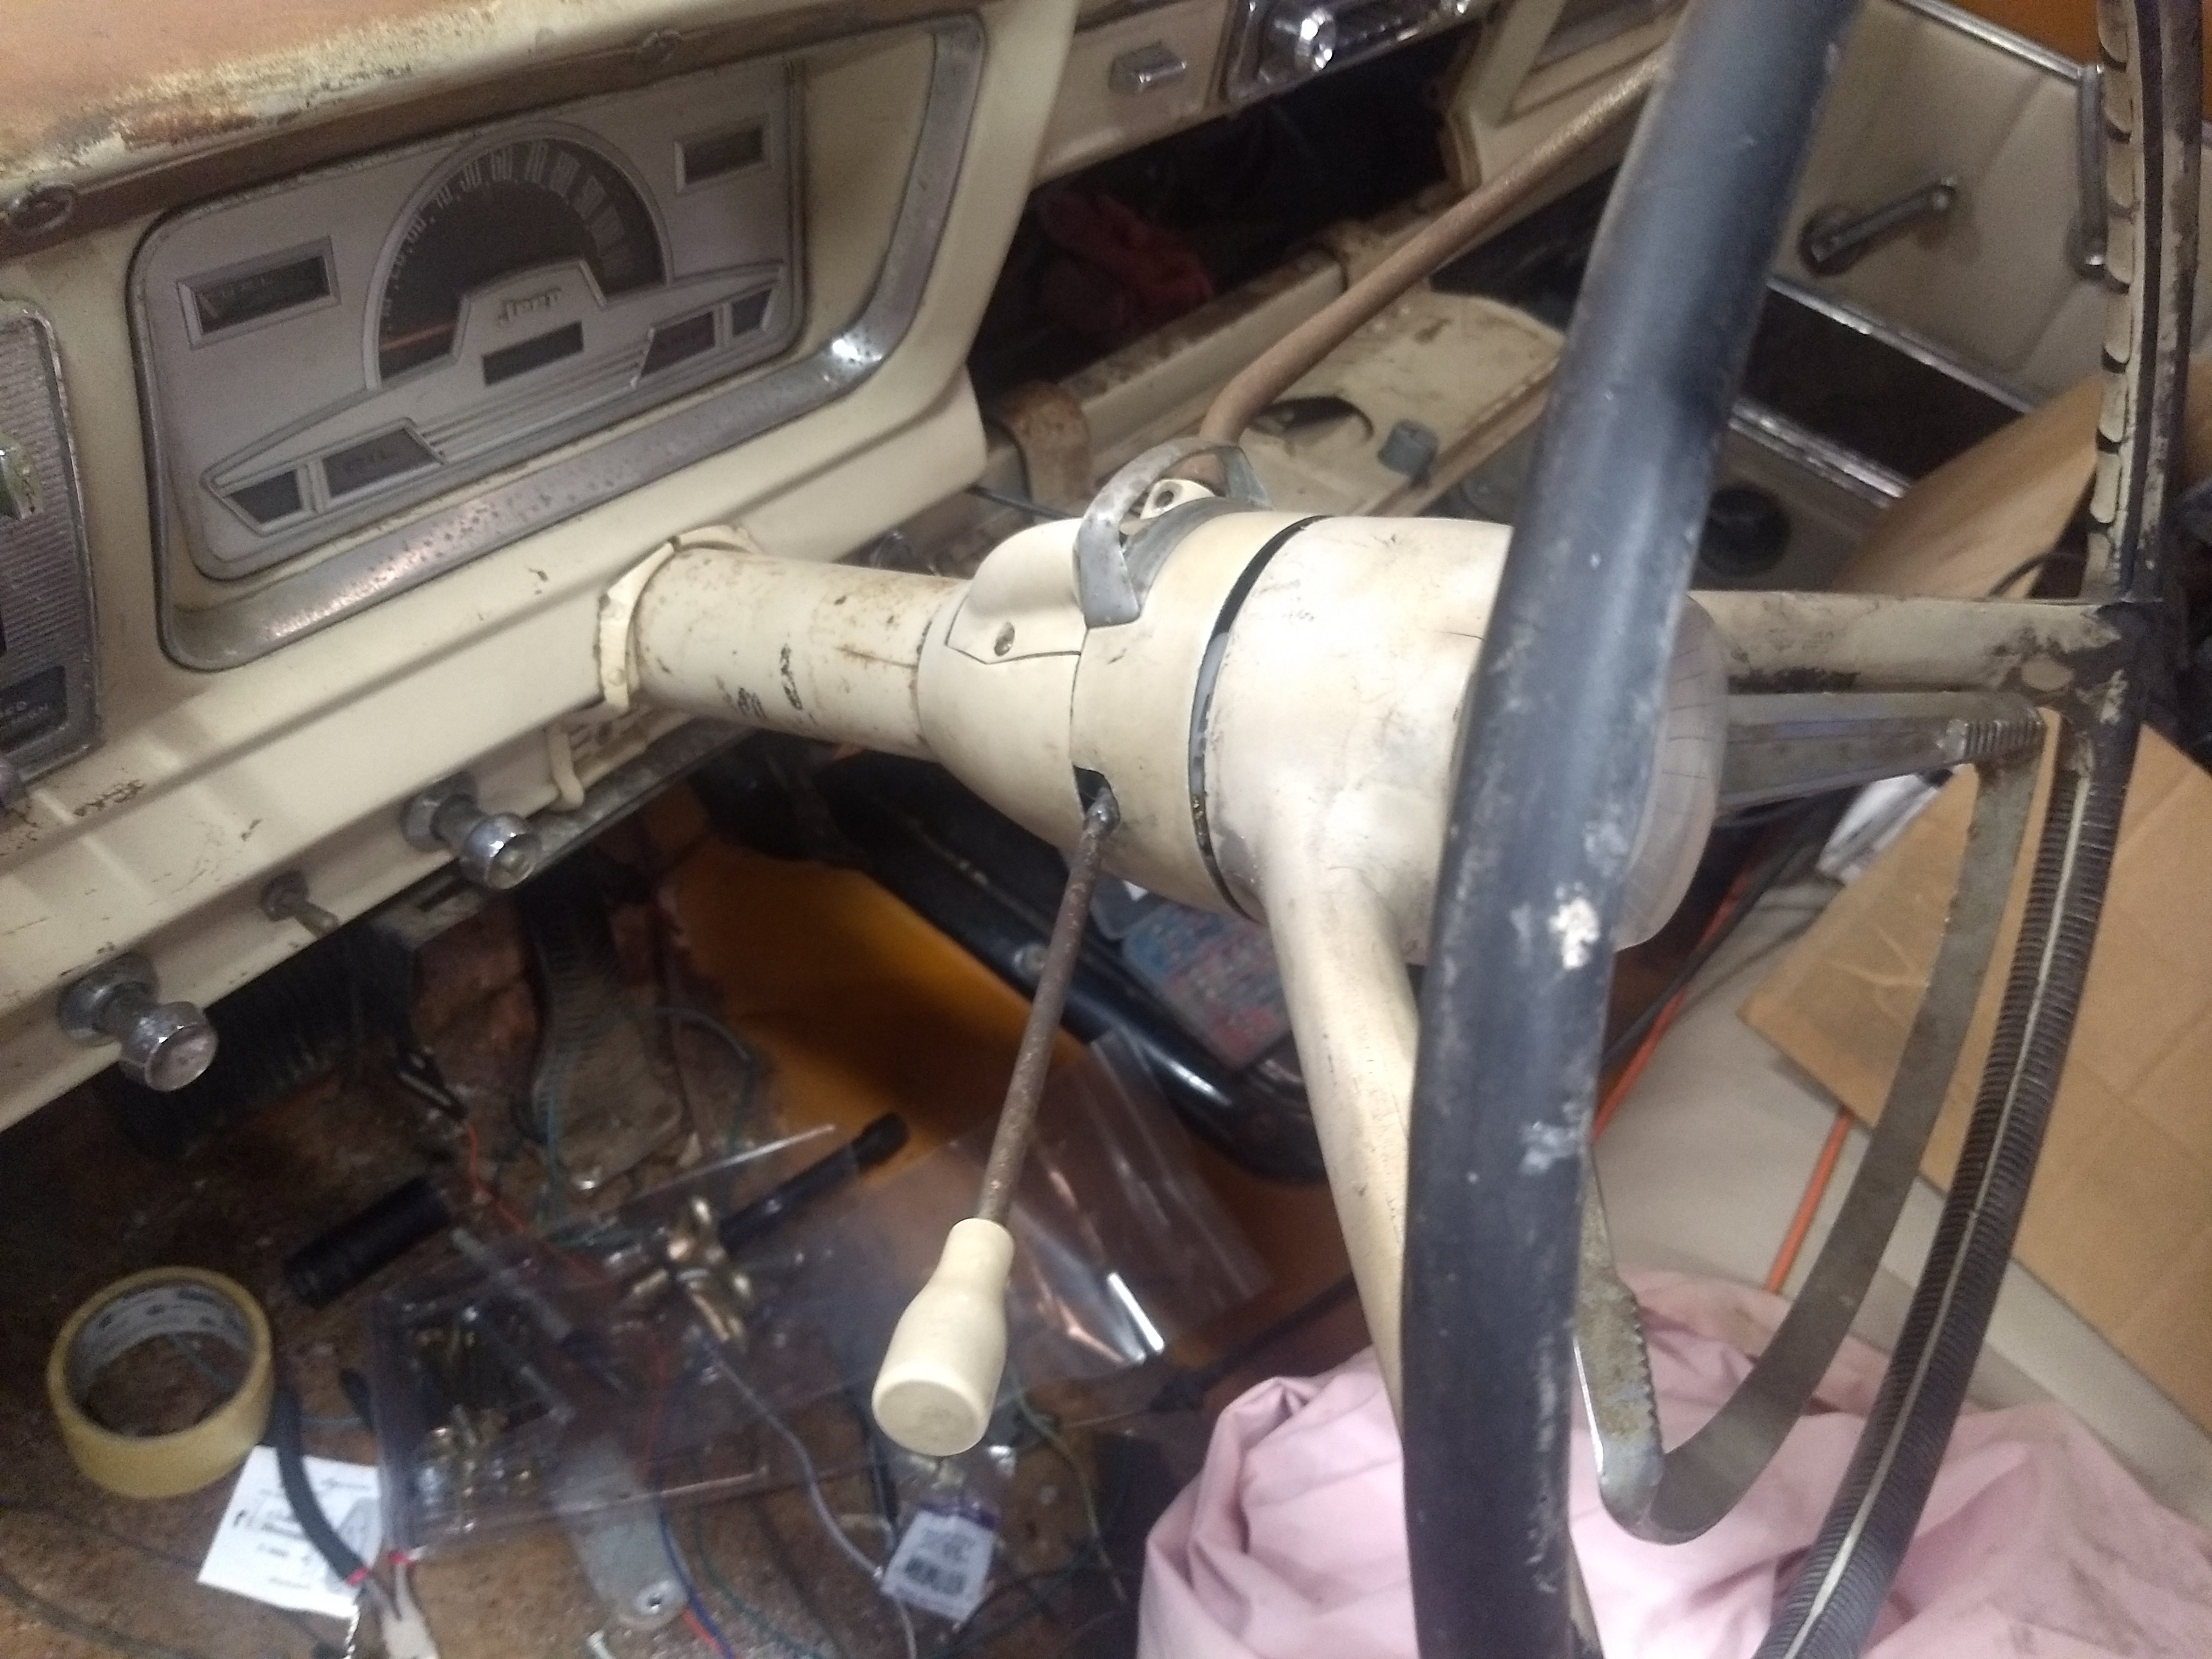
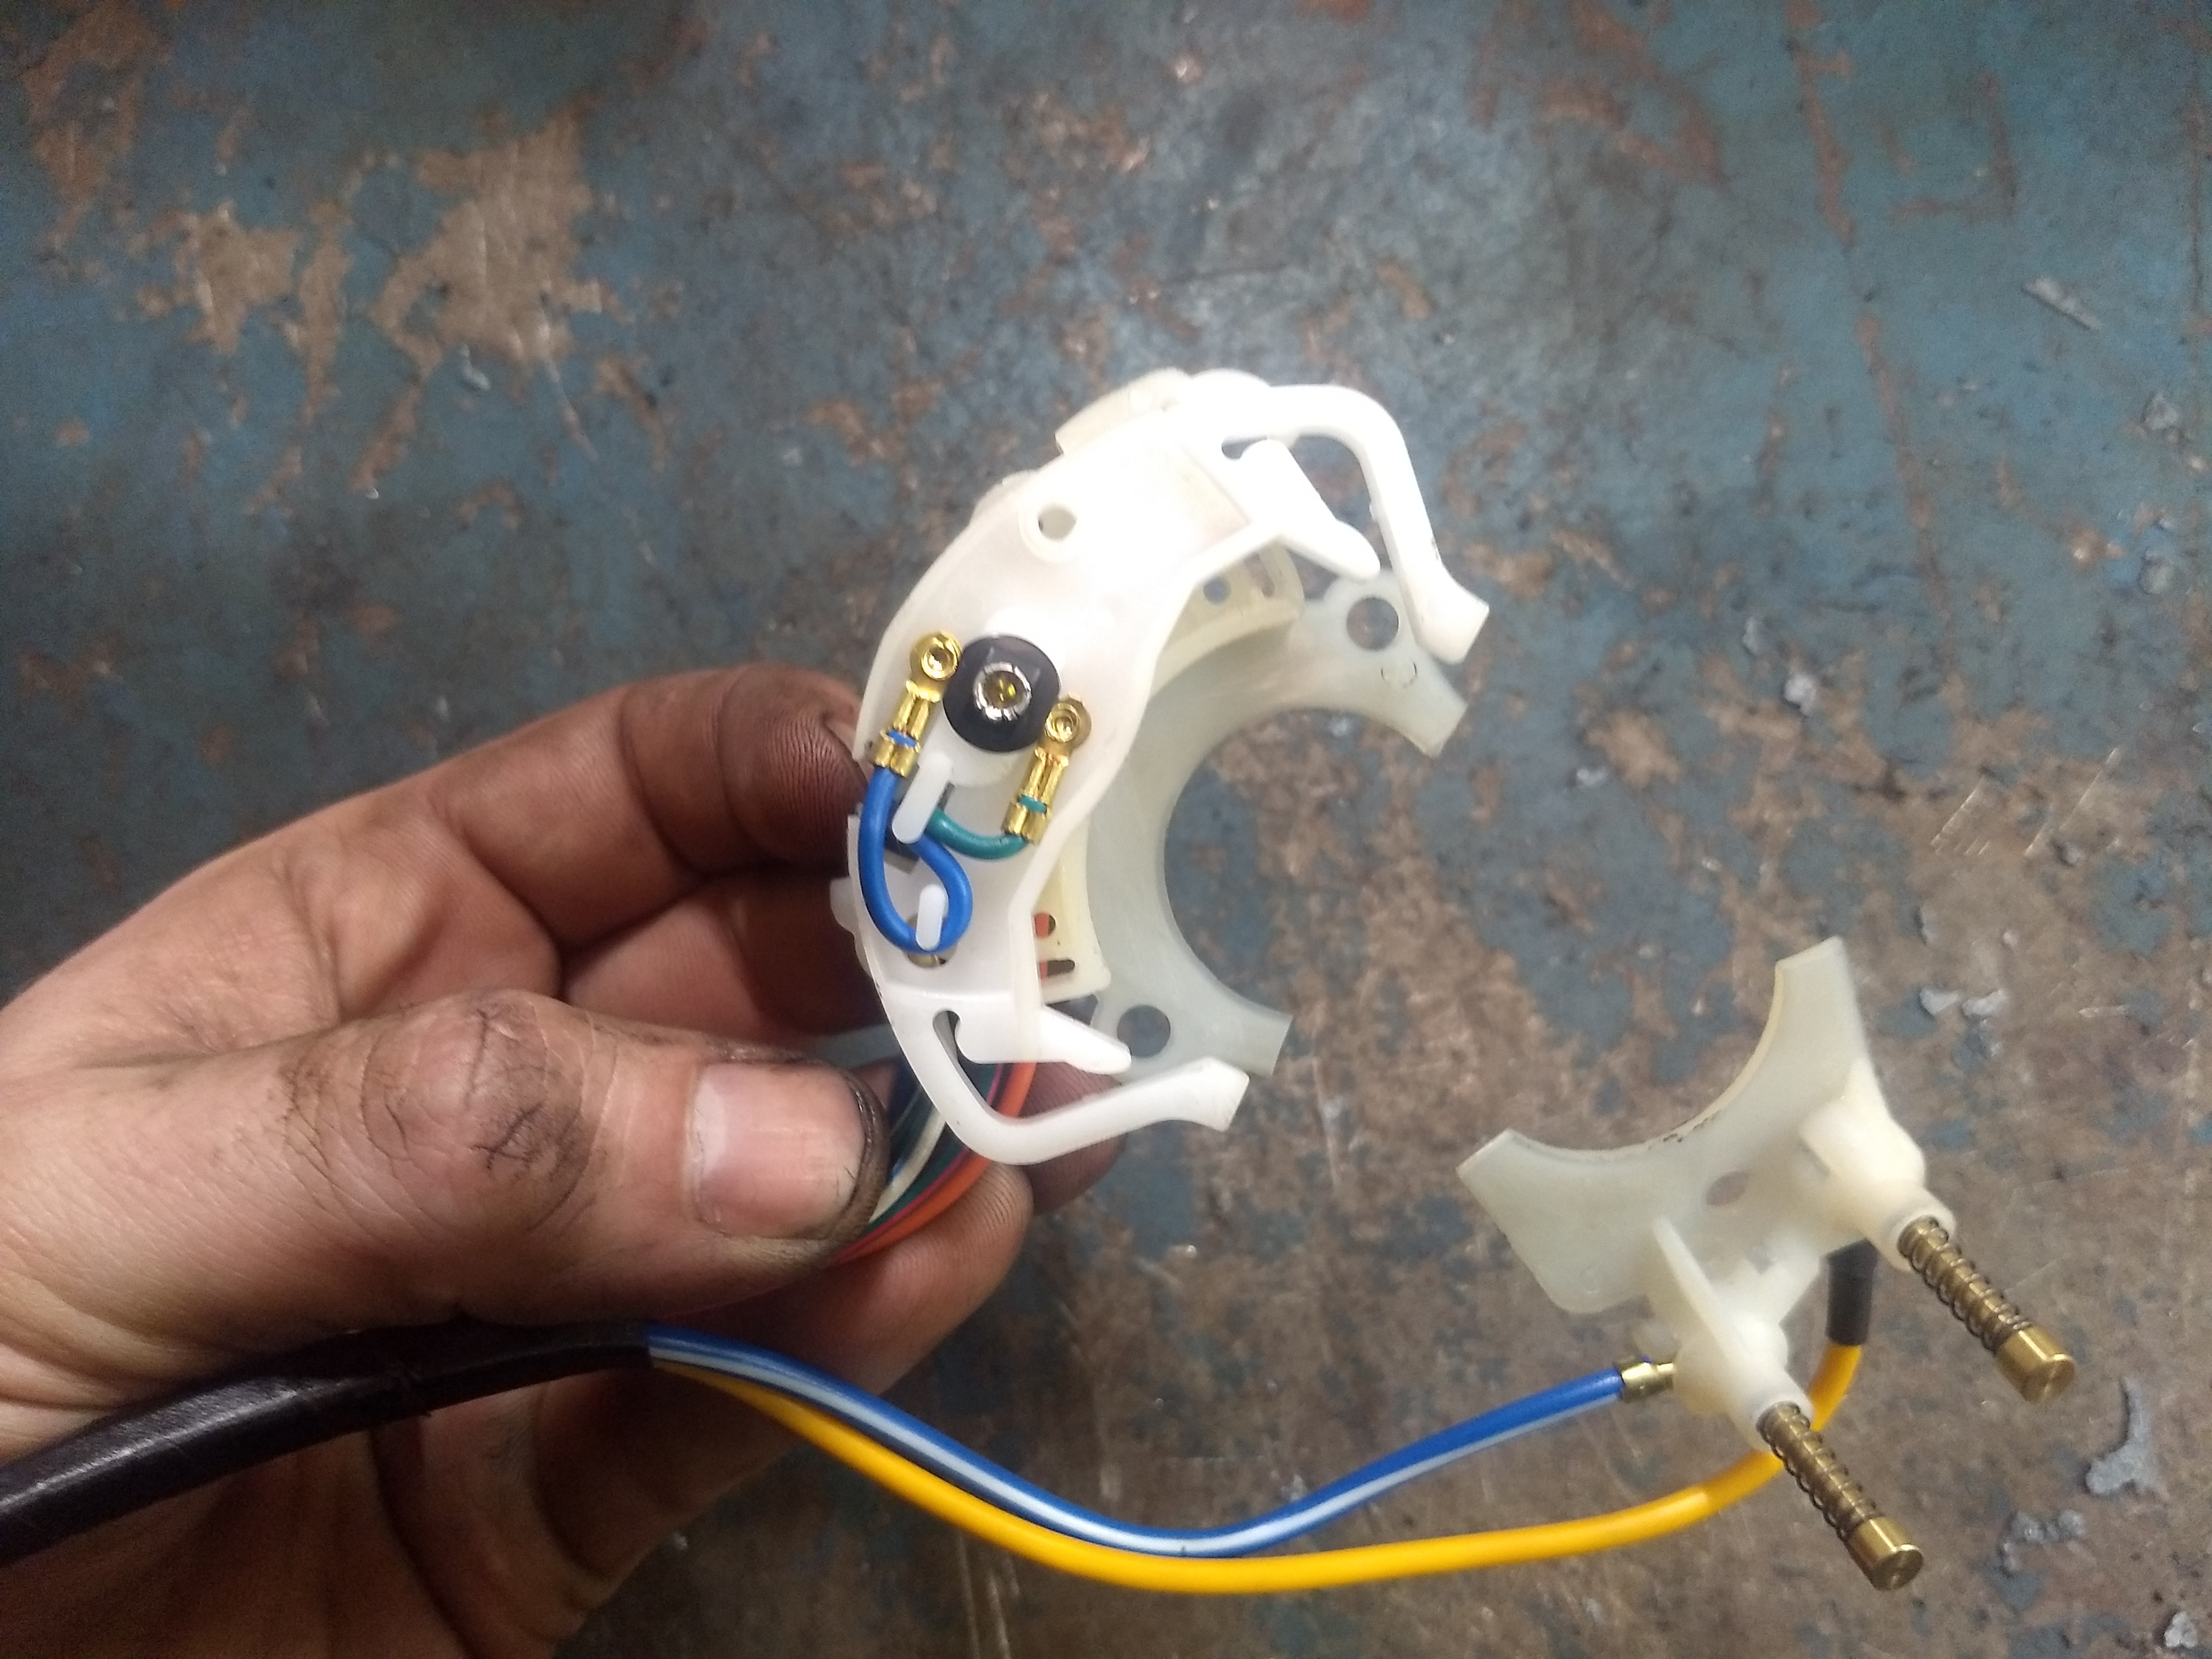
The 1972 Jeep J 4500 we worked on had a turn signal switch which was in several pieces and could not be repaired .
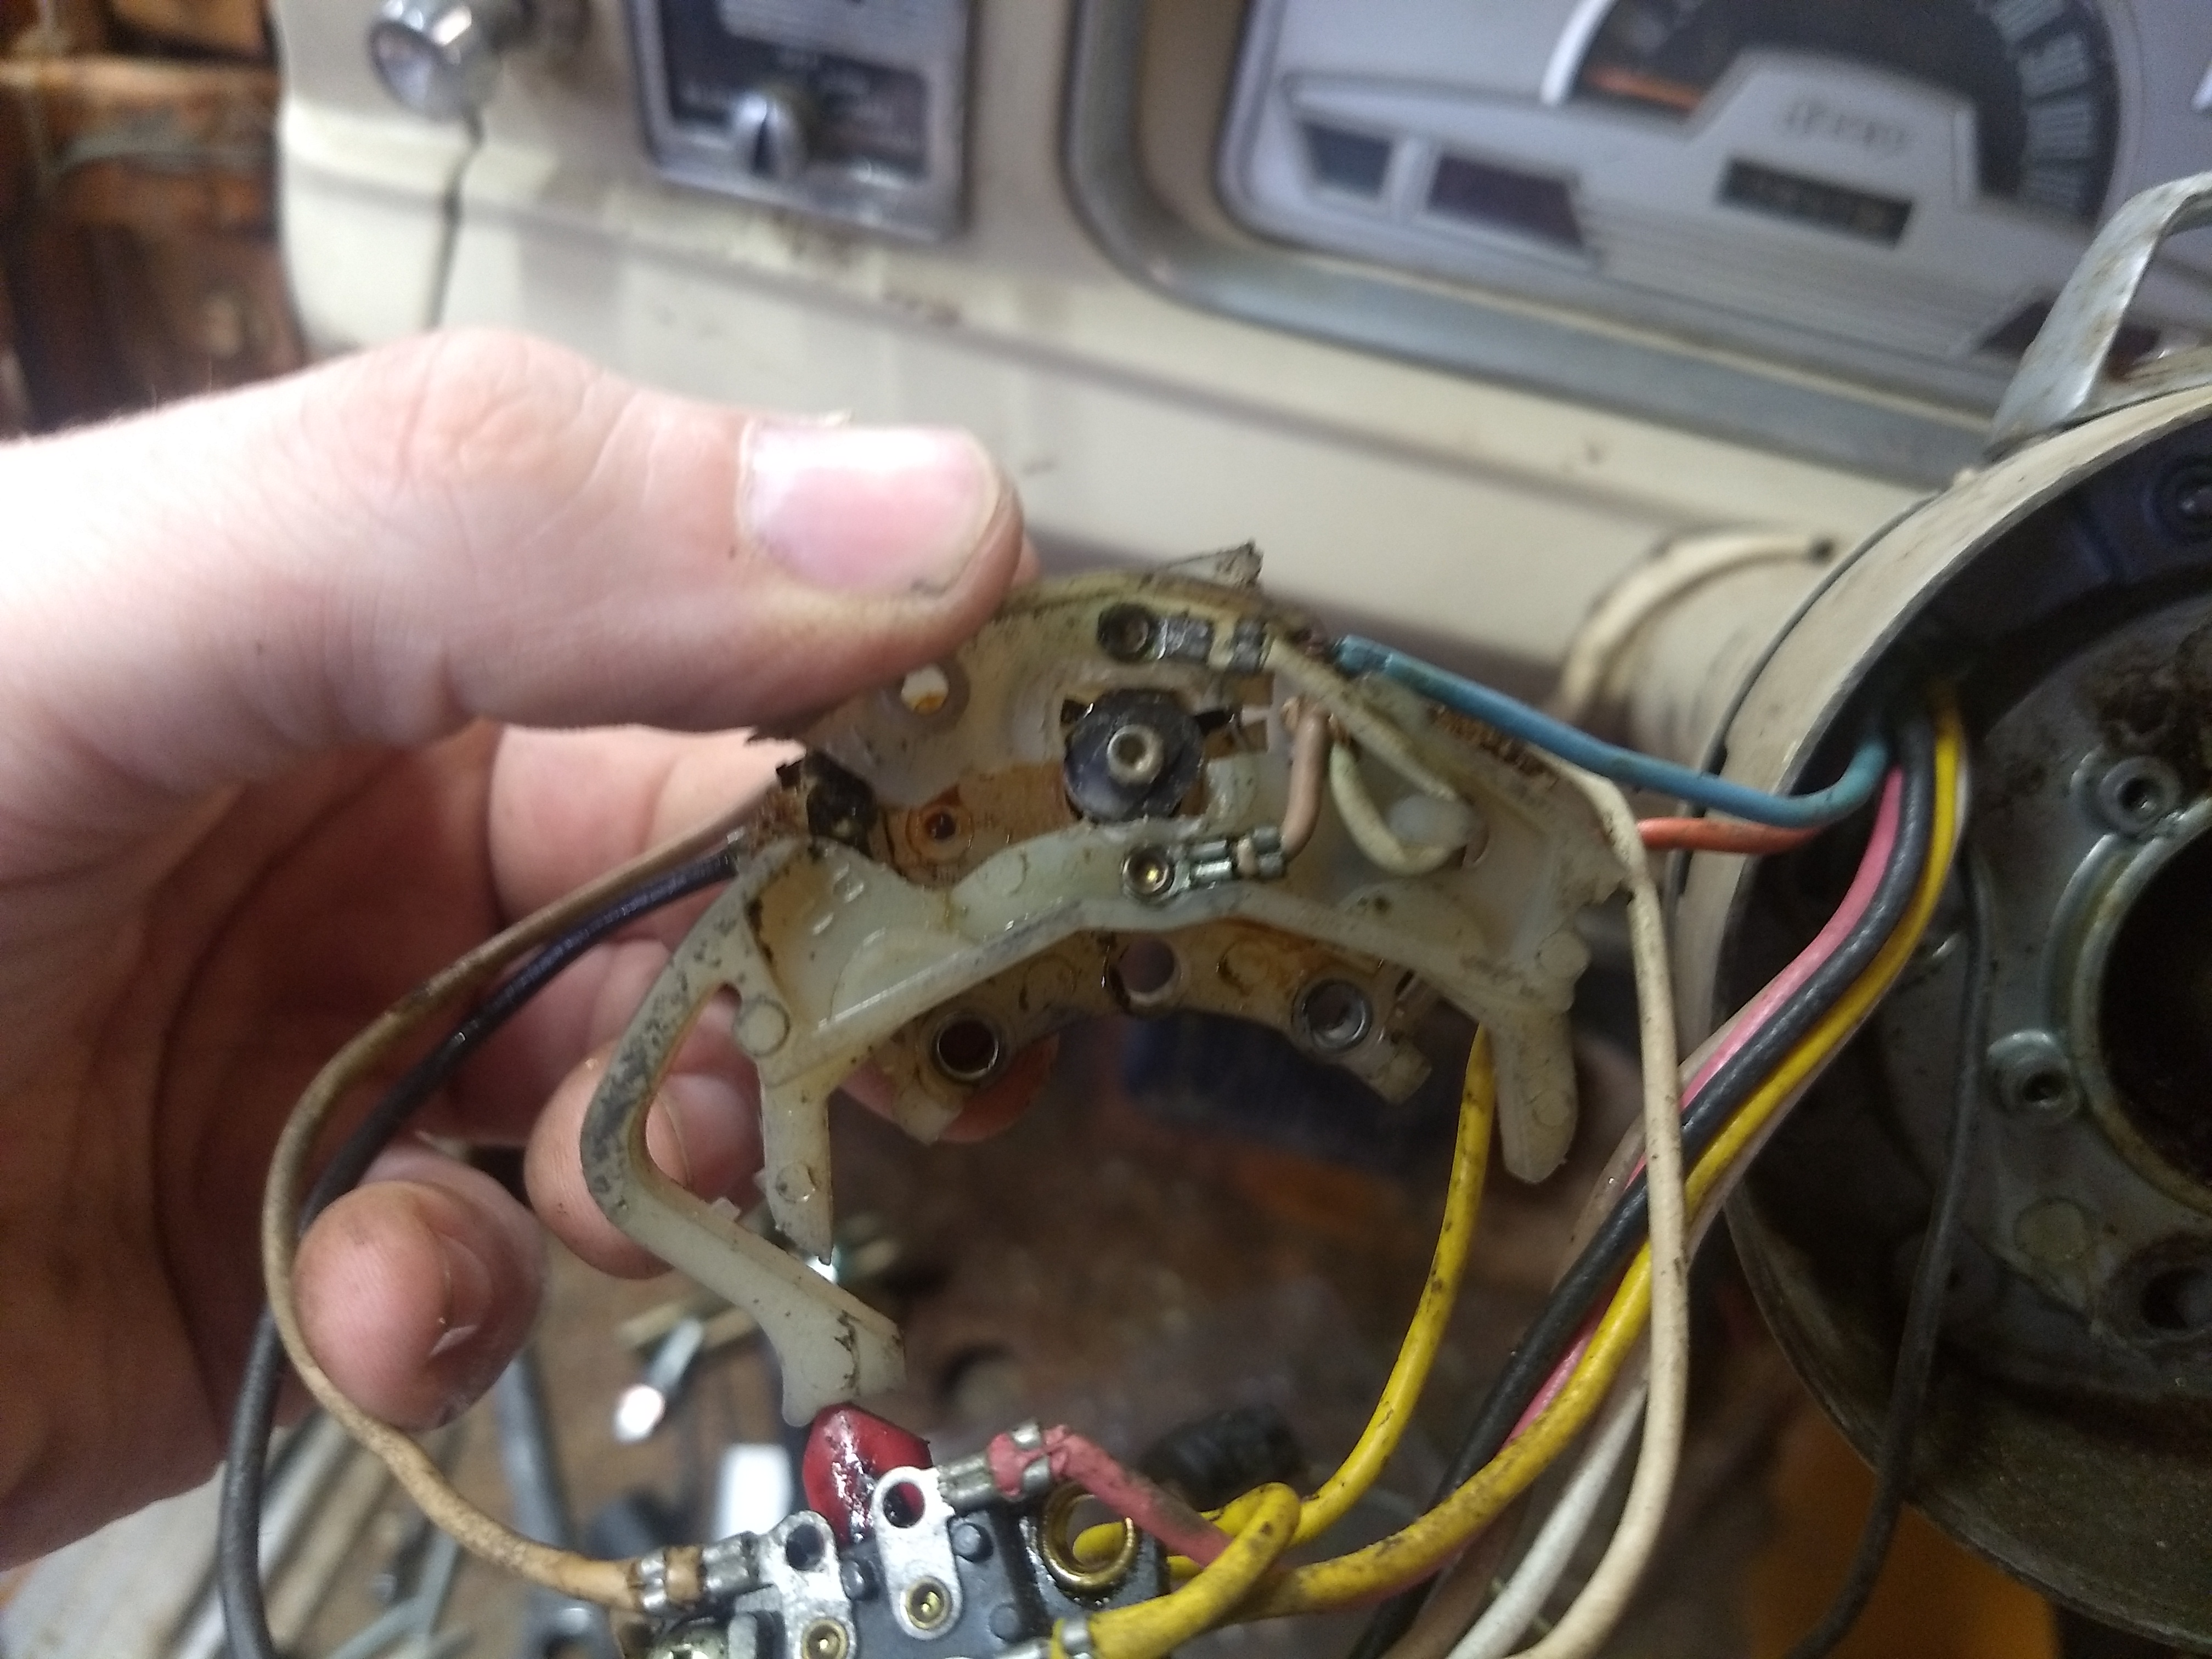
What we did find is a 65-66 Ford Mustang/Bronco turn signal switch looked pretty close to what we had.
When the switch arrived and we compared it to the existing switch we realized that several modifications would be needed however we were happy to see that the switch had the exact same wire locations as the existing switch.
First the right side of the switch was not needed, so that was cut off.
The switch then still needed some trimming to fit around the column correctly. We trimmed this with some side cutters then cleaned it up with a curved file.
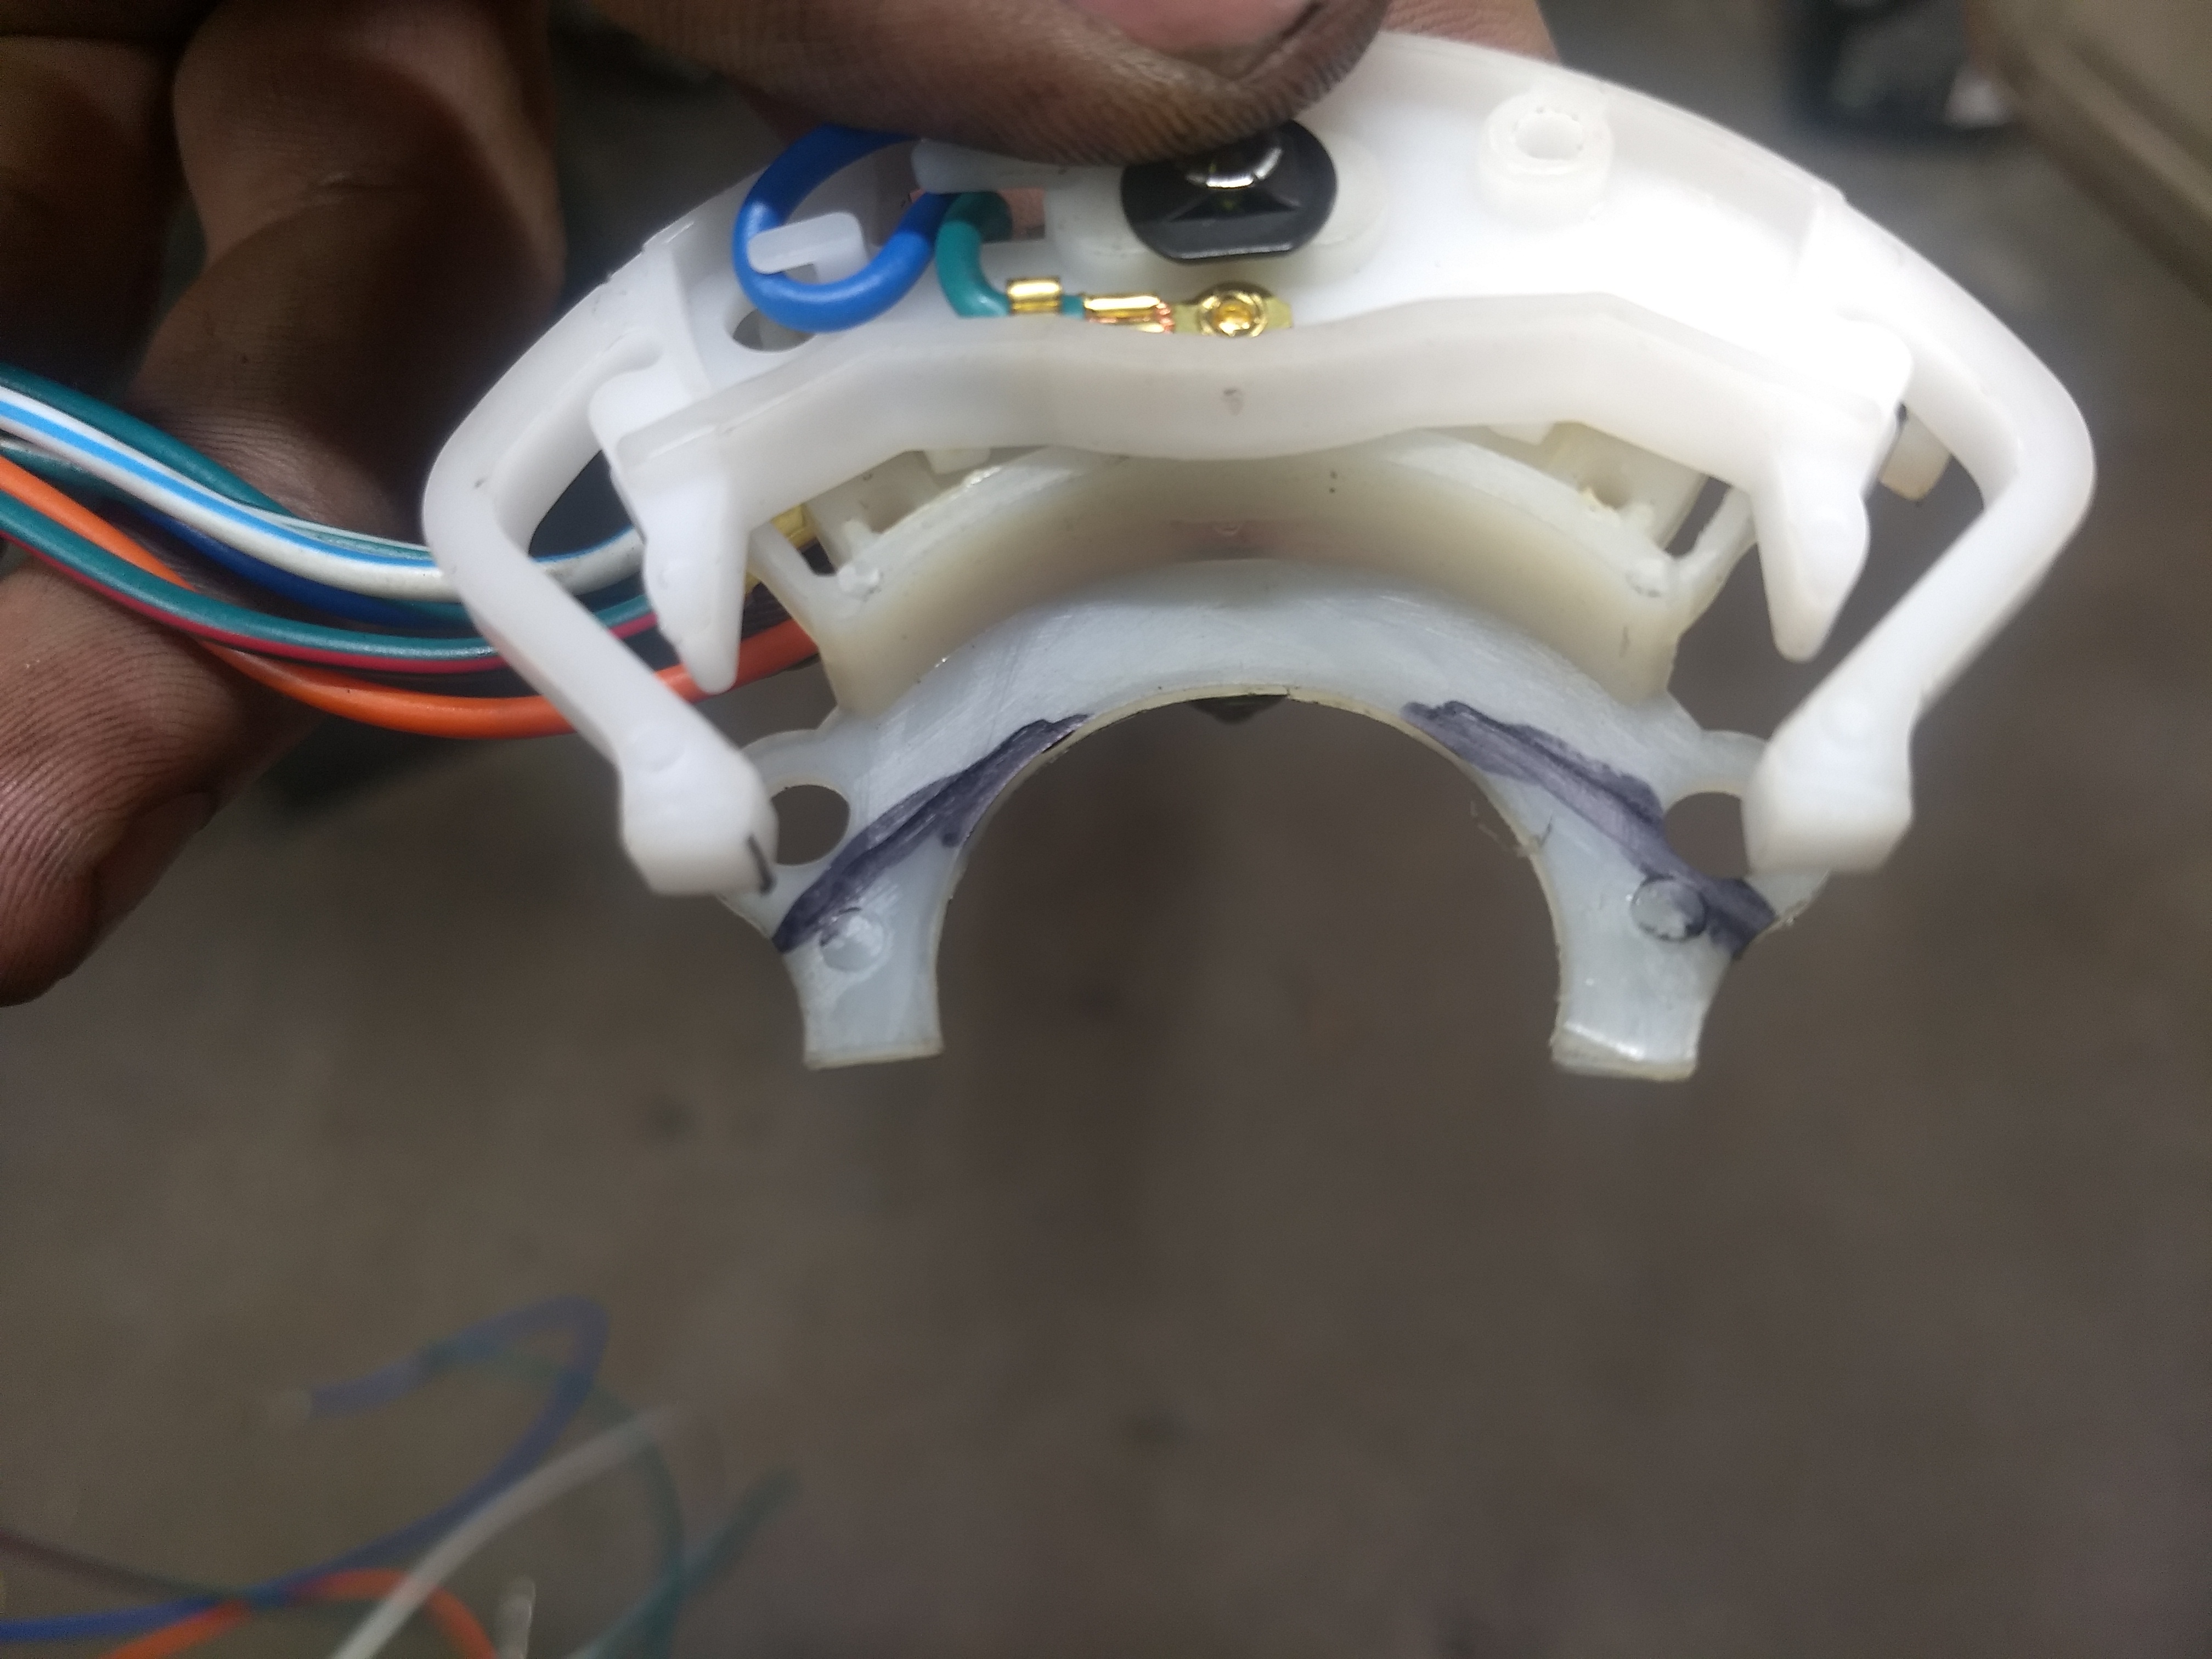
After that we laid the switch in position and marked the column hole locations so they could be drilled.
The Mustang switch is a lot thinner where it mounts to the column so shorter screws were needed for installation. The screws we used were 6-32UNC and 1/4" long.

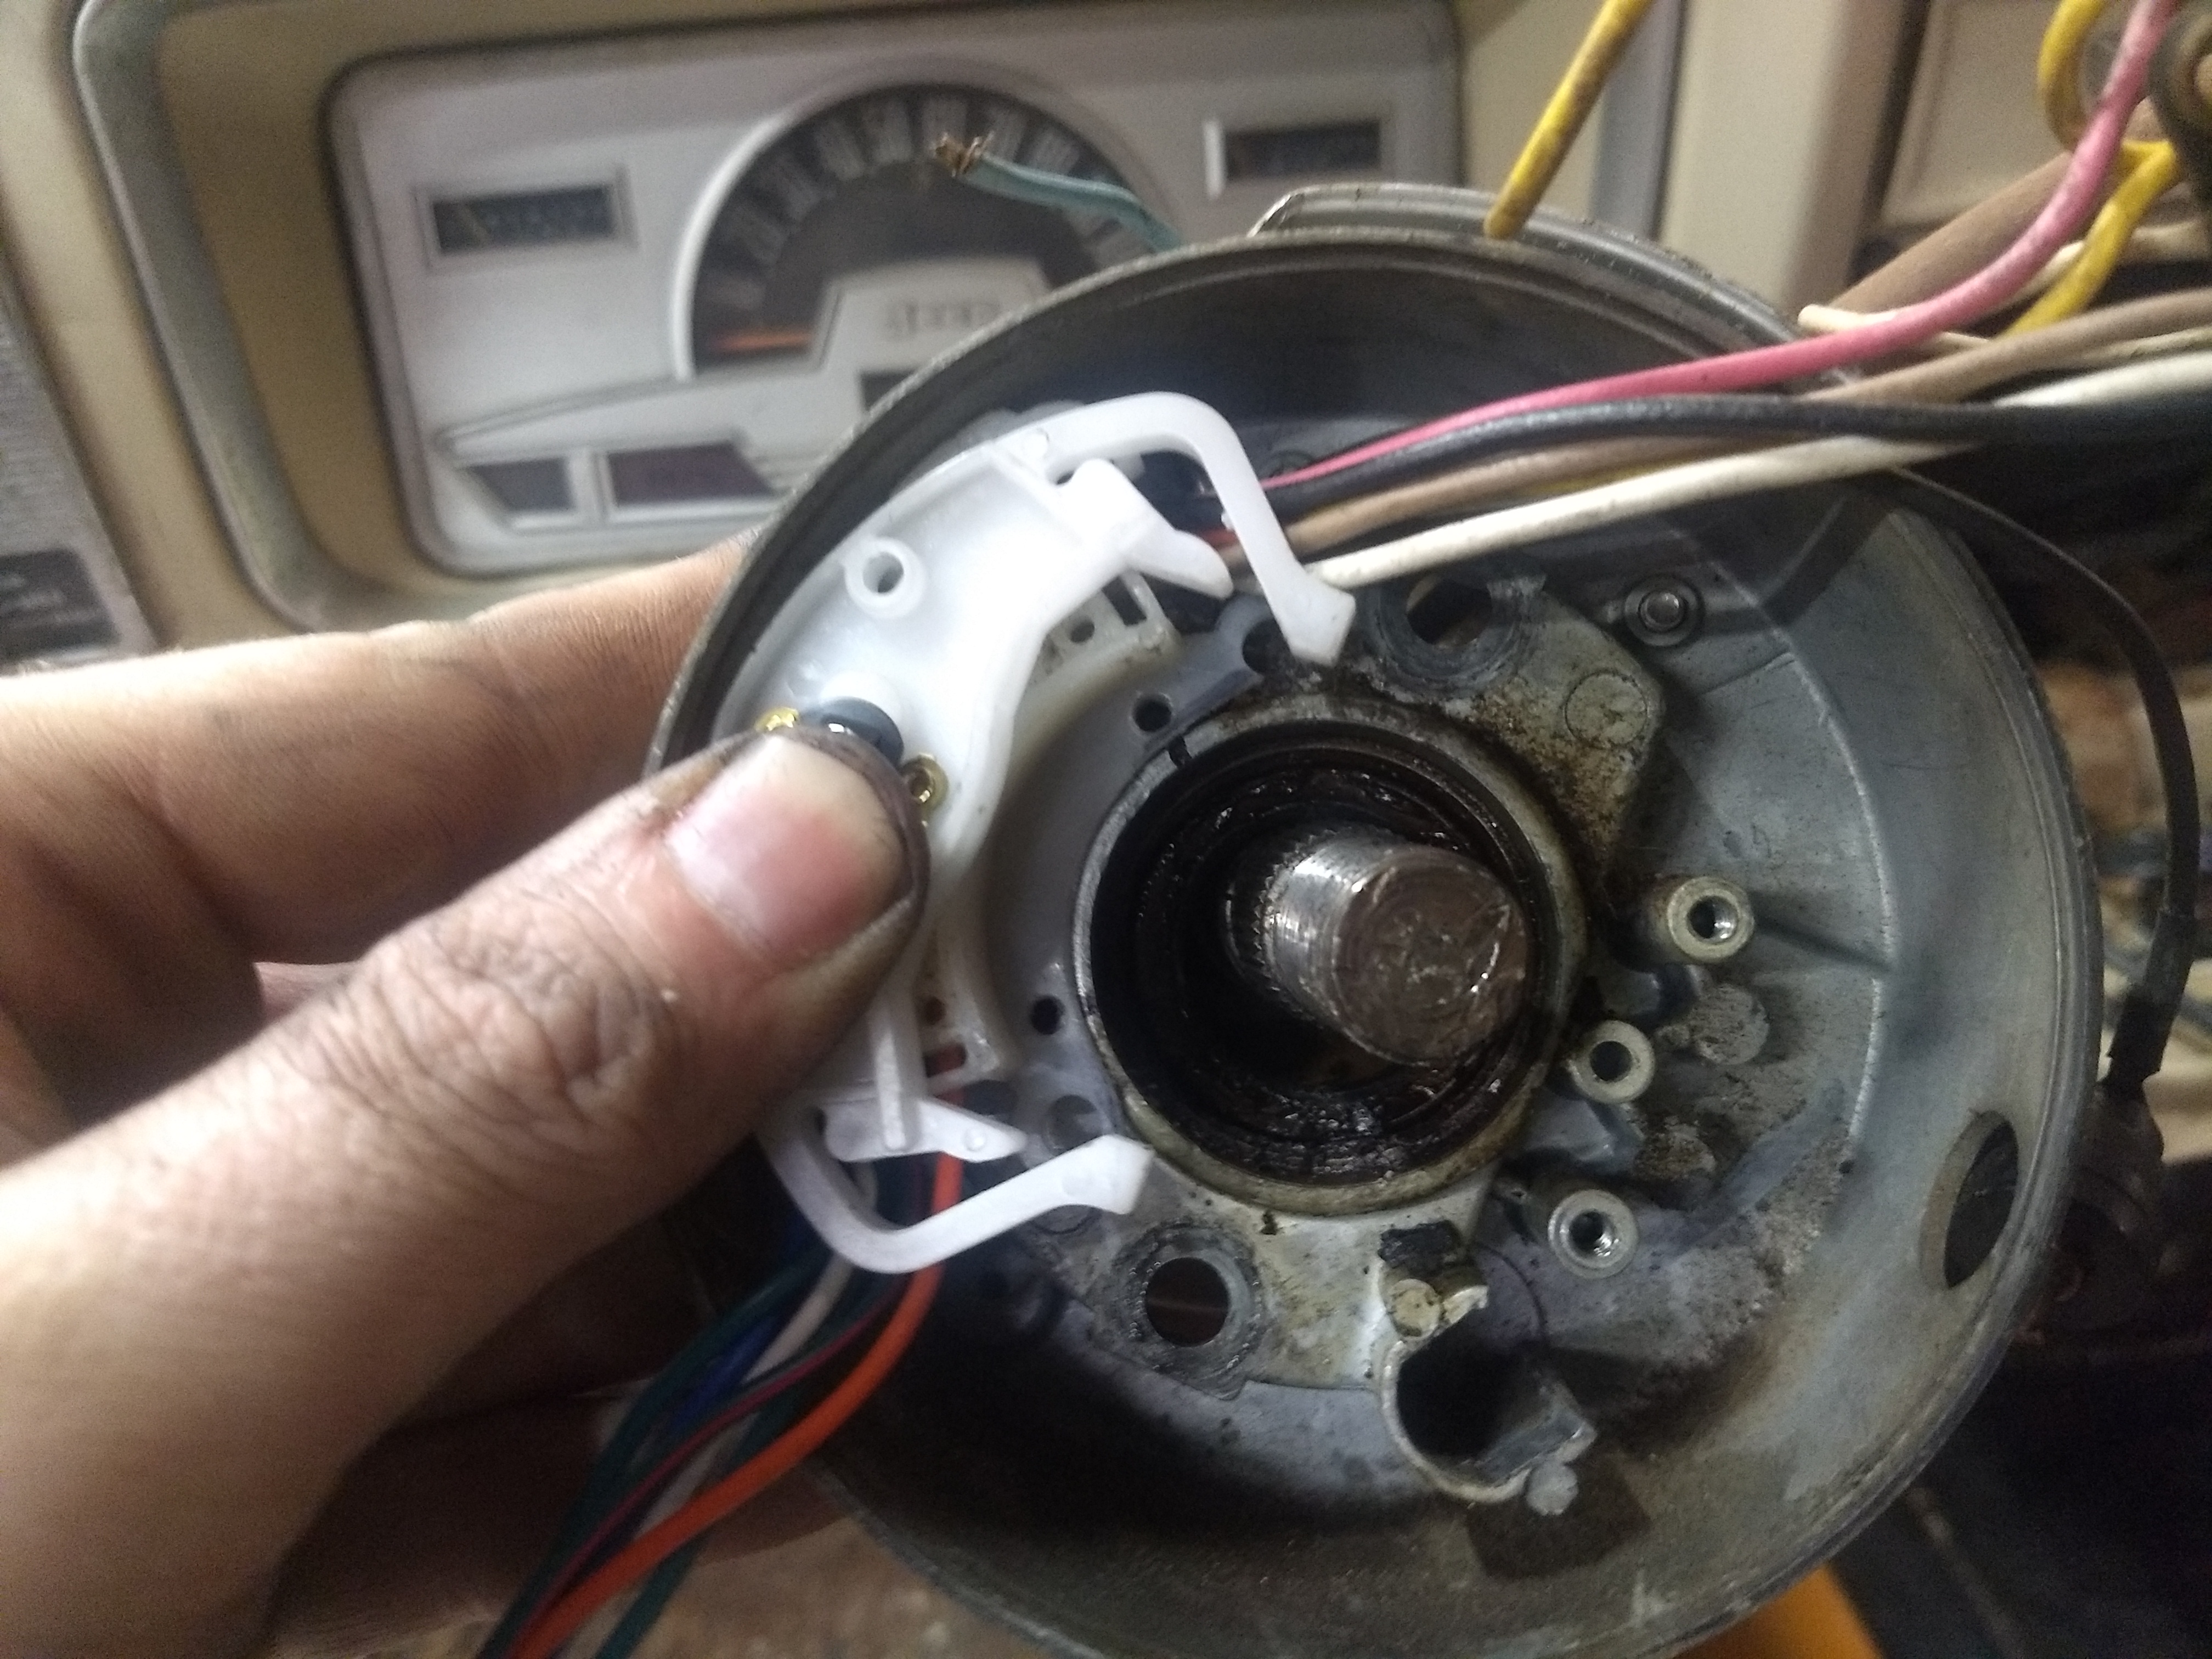
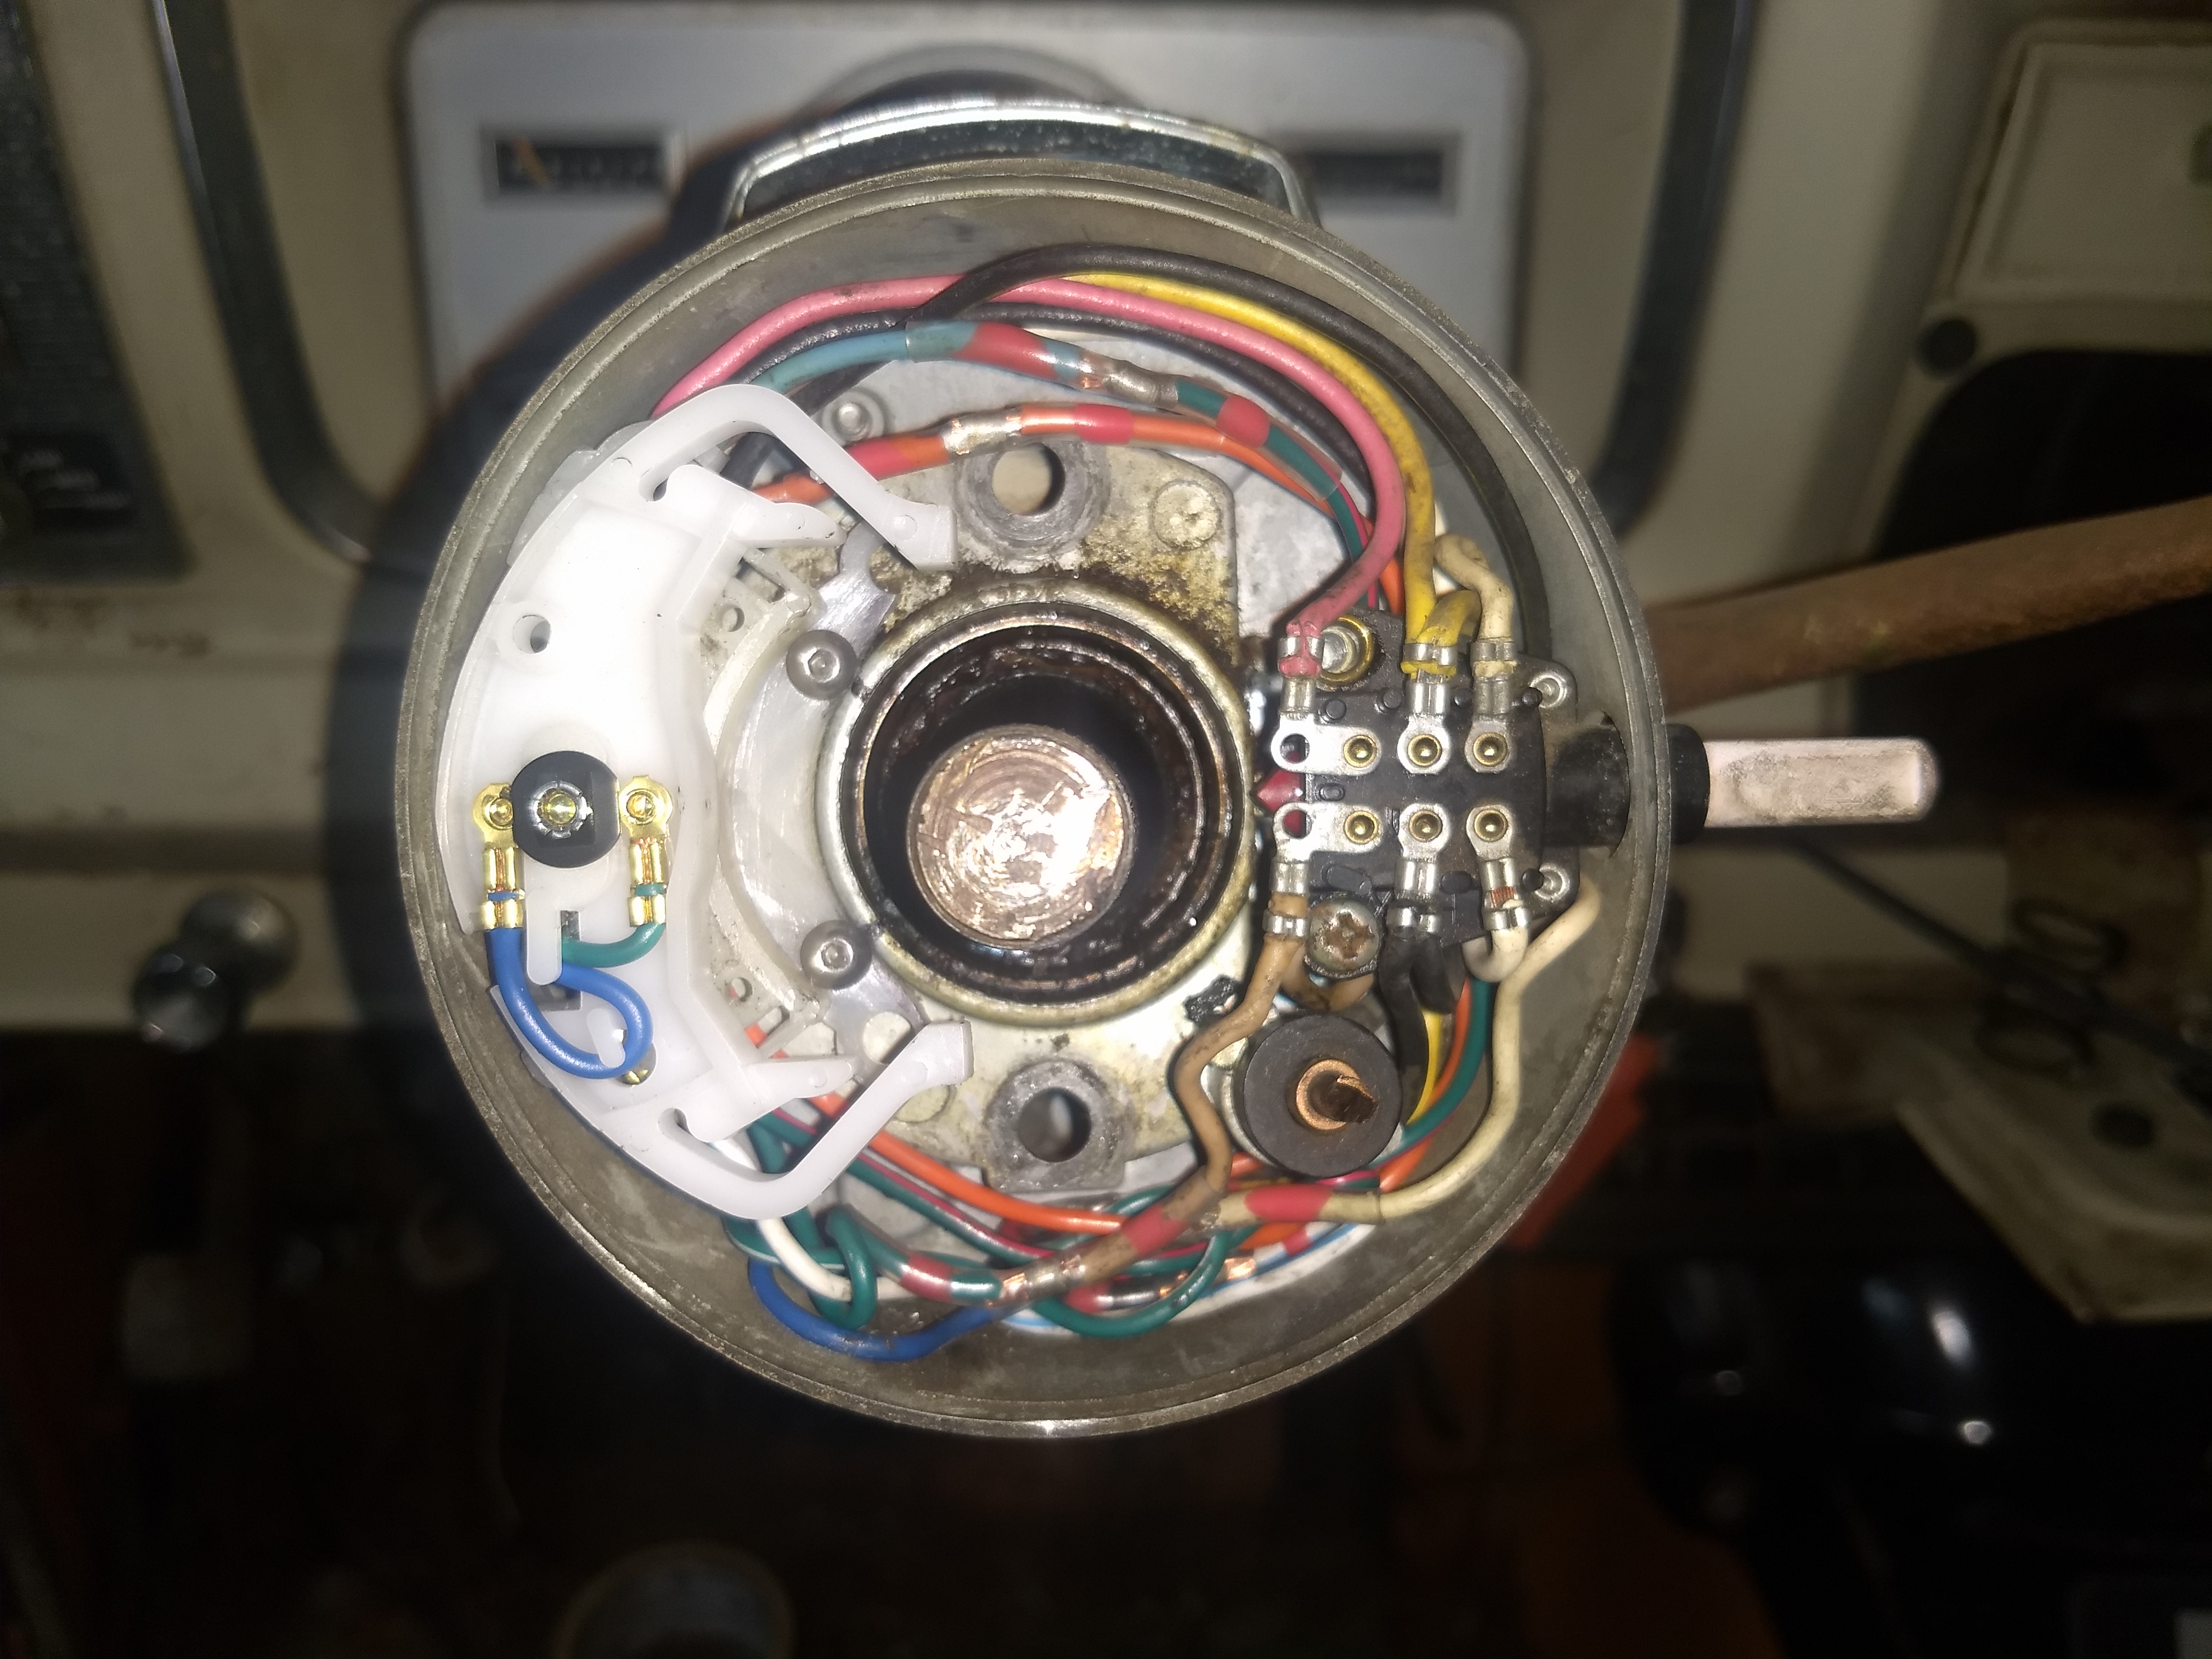
With the switch now fitting in the column we worked on wiring, we used the old switch and compared the wire color and location to that of the new switch. A couple of wires will need to be attached to the wiring down to the dash, the others will go to the hazard switch. We recommend heat activated solder butt connectors for electrical connections.
This finished this side of the installation, but unfortunately it is not the end of the modifications needed.
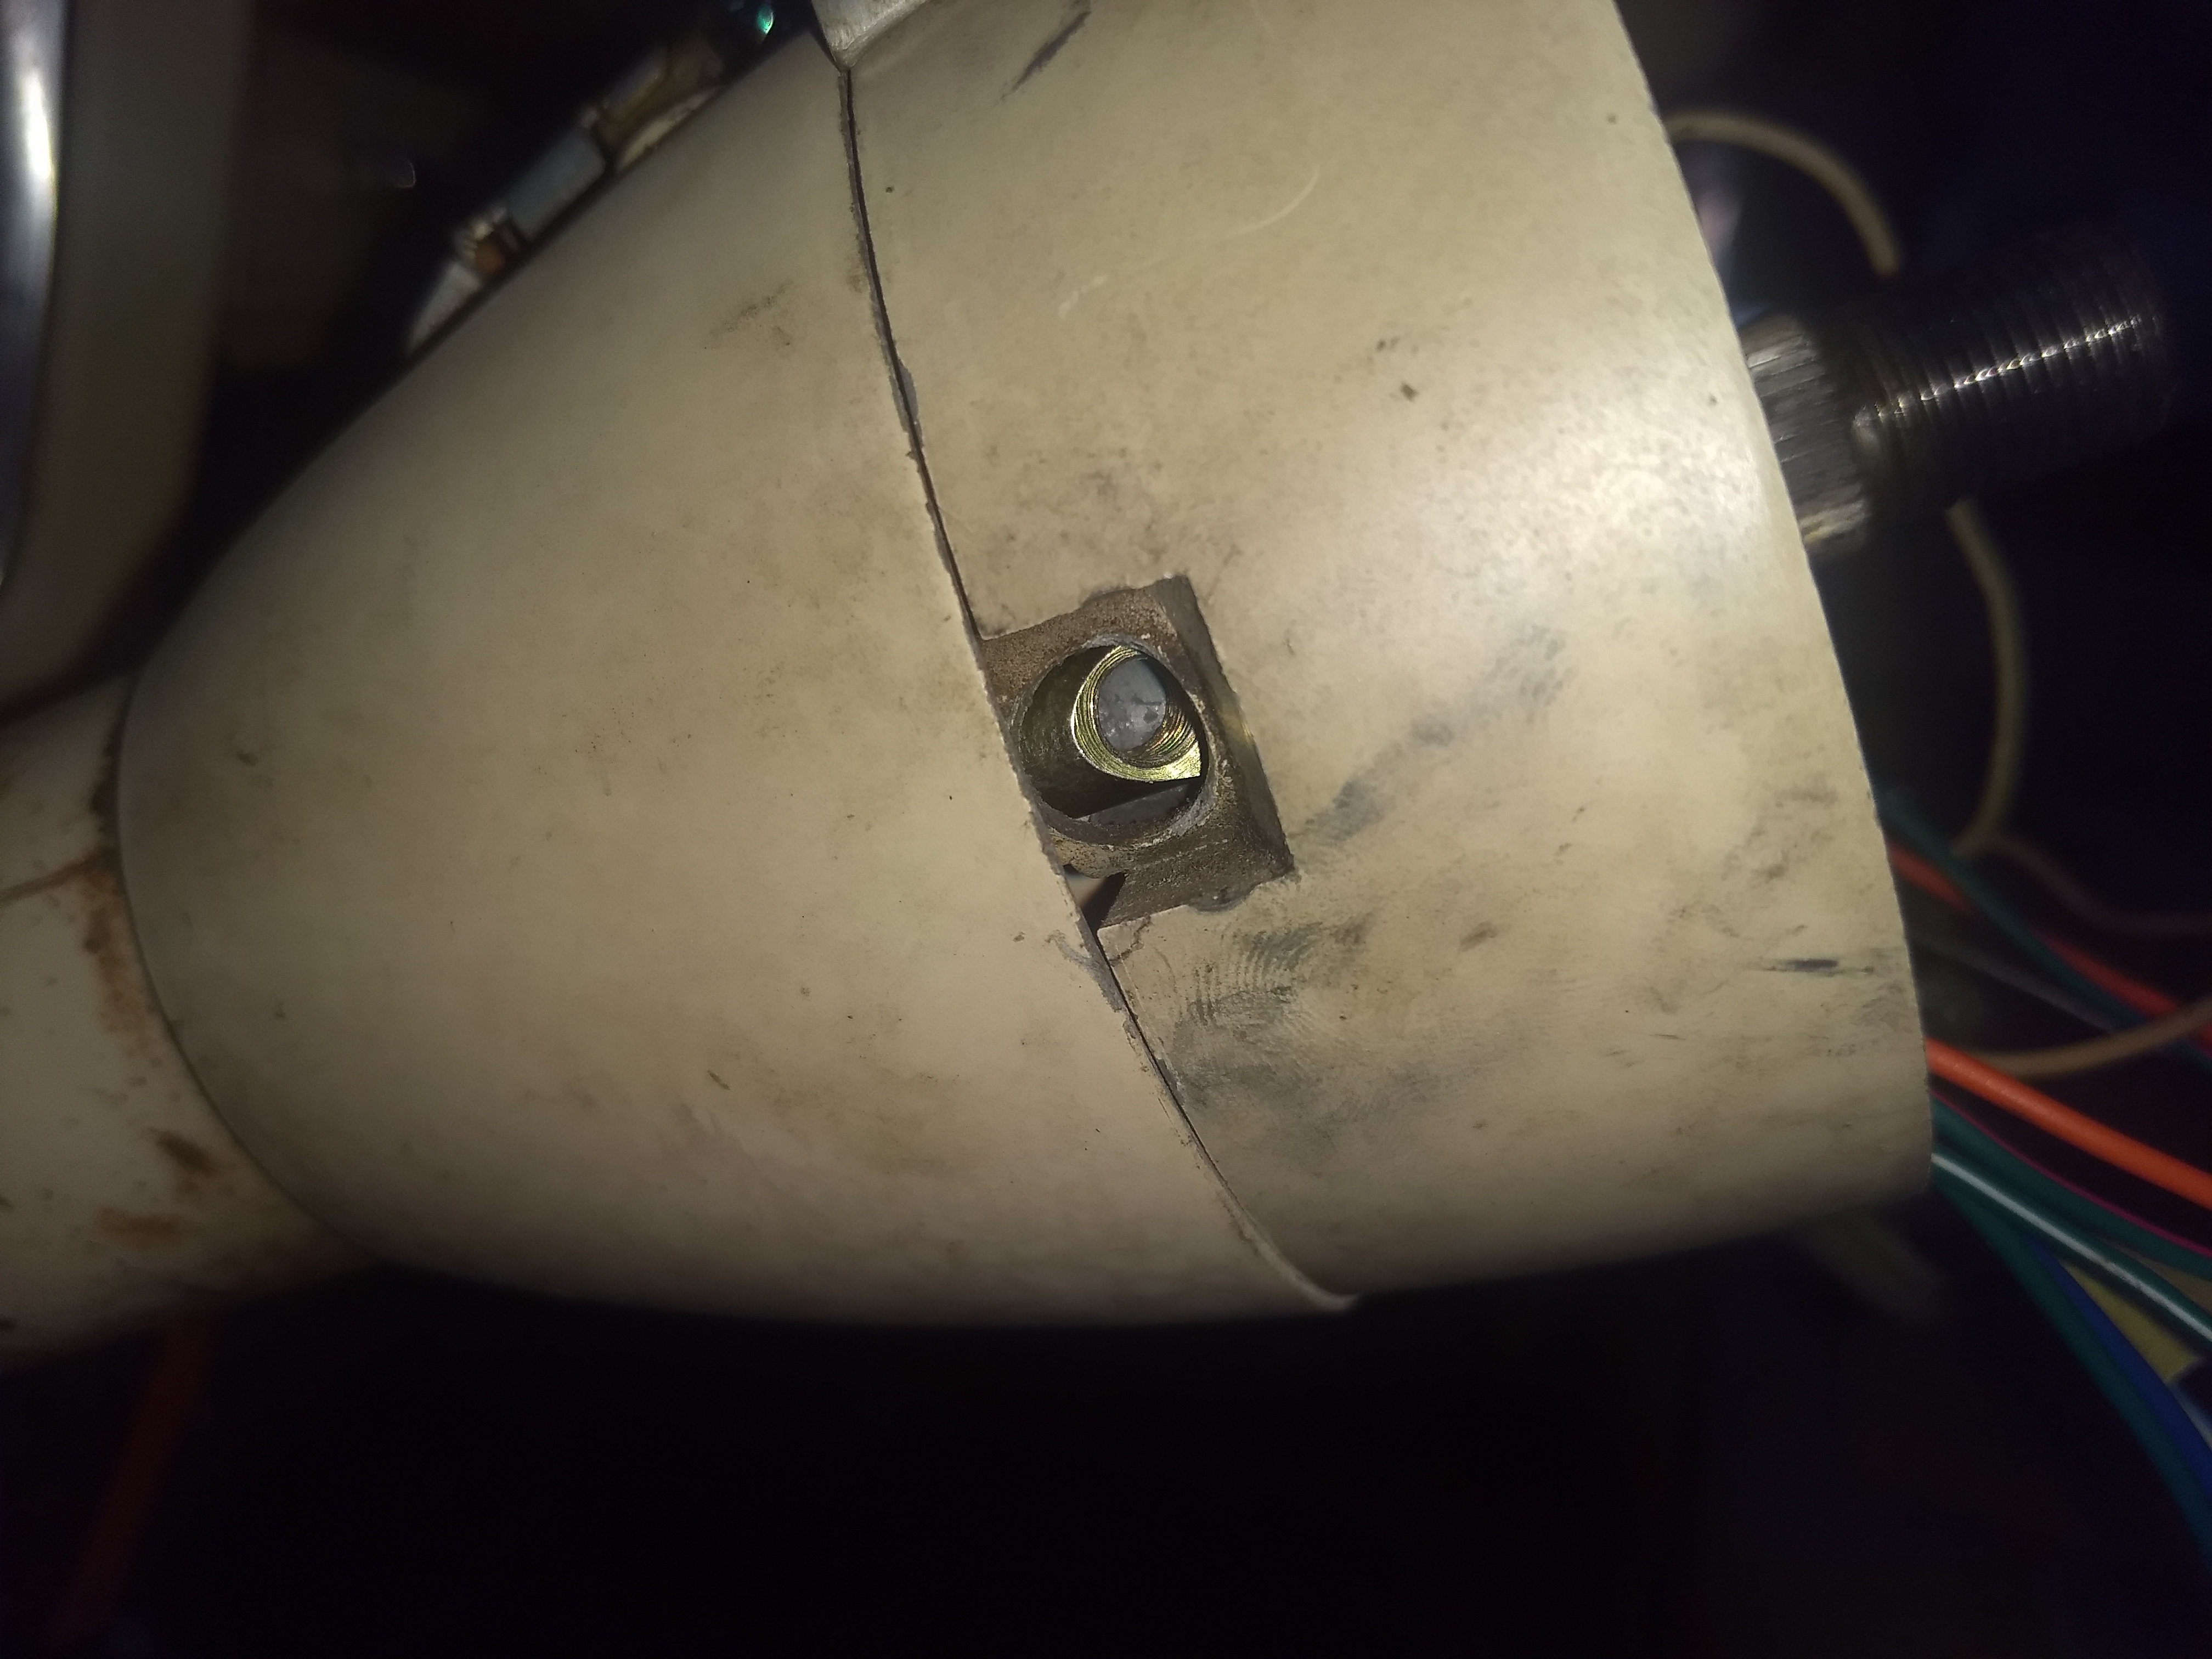
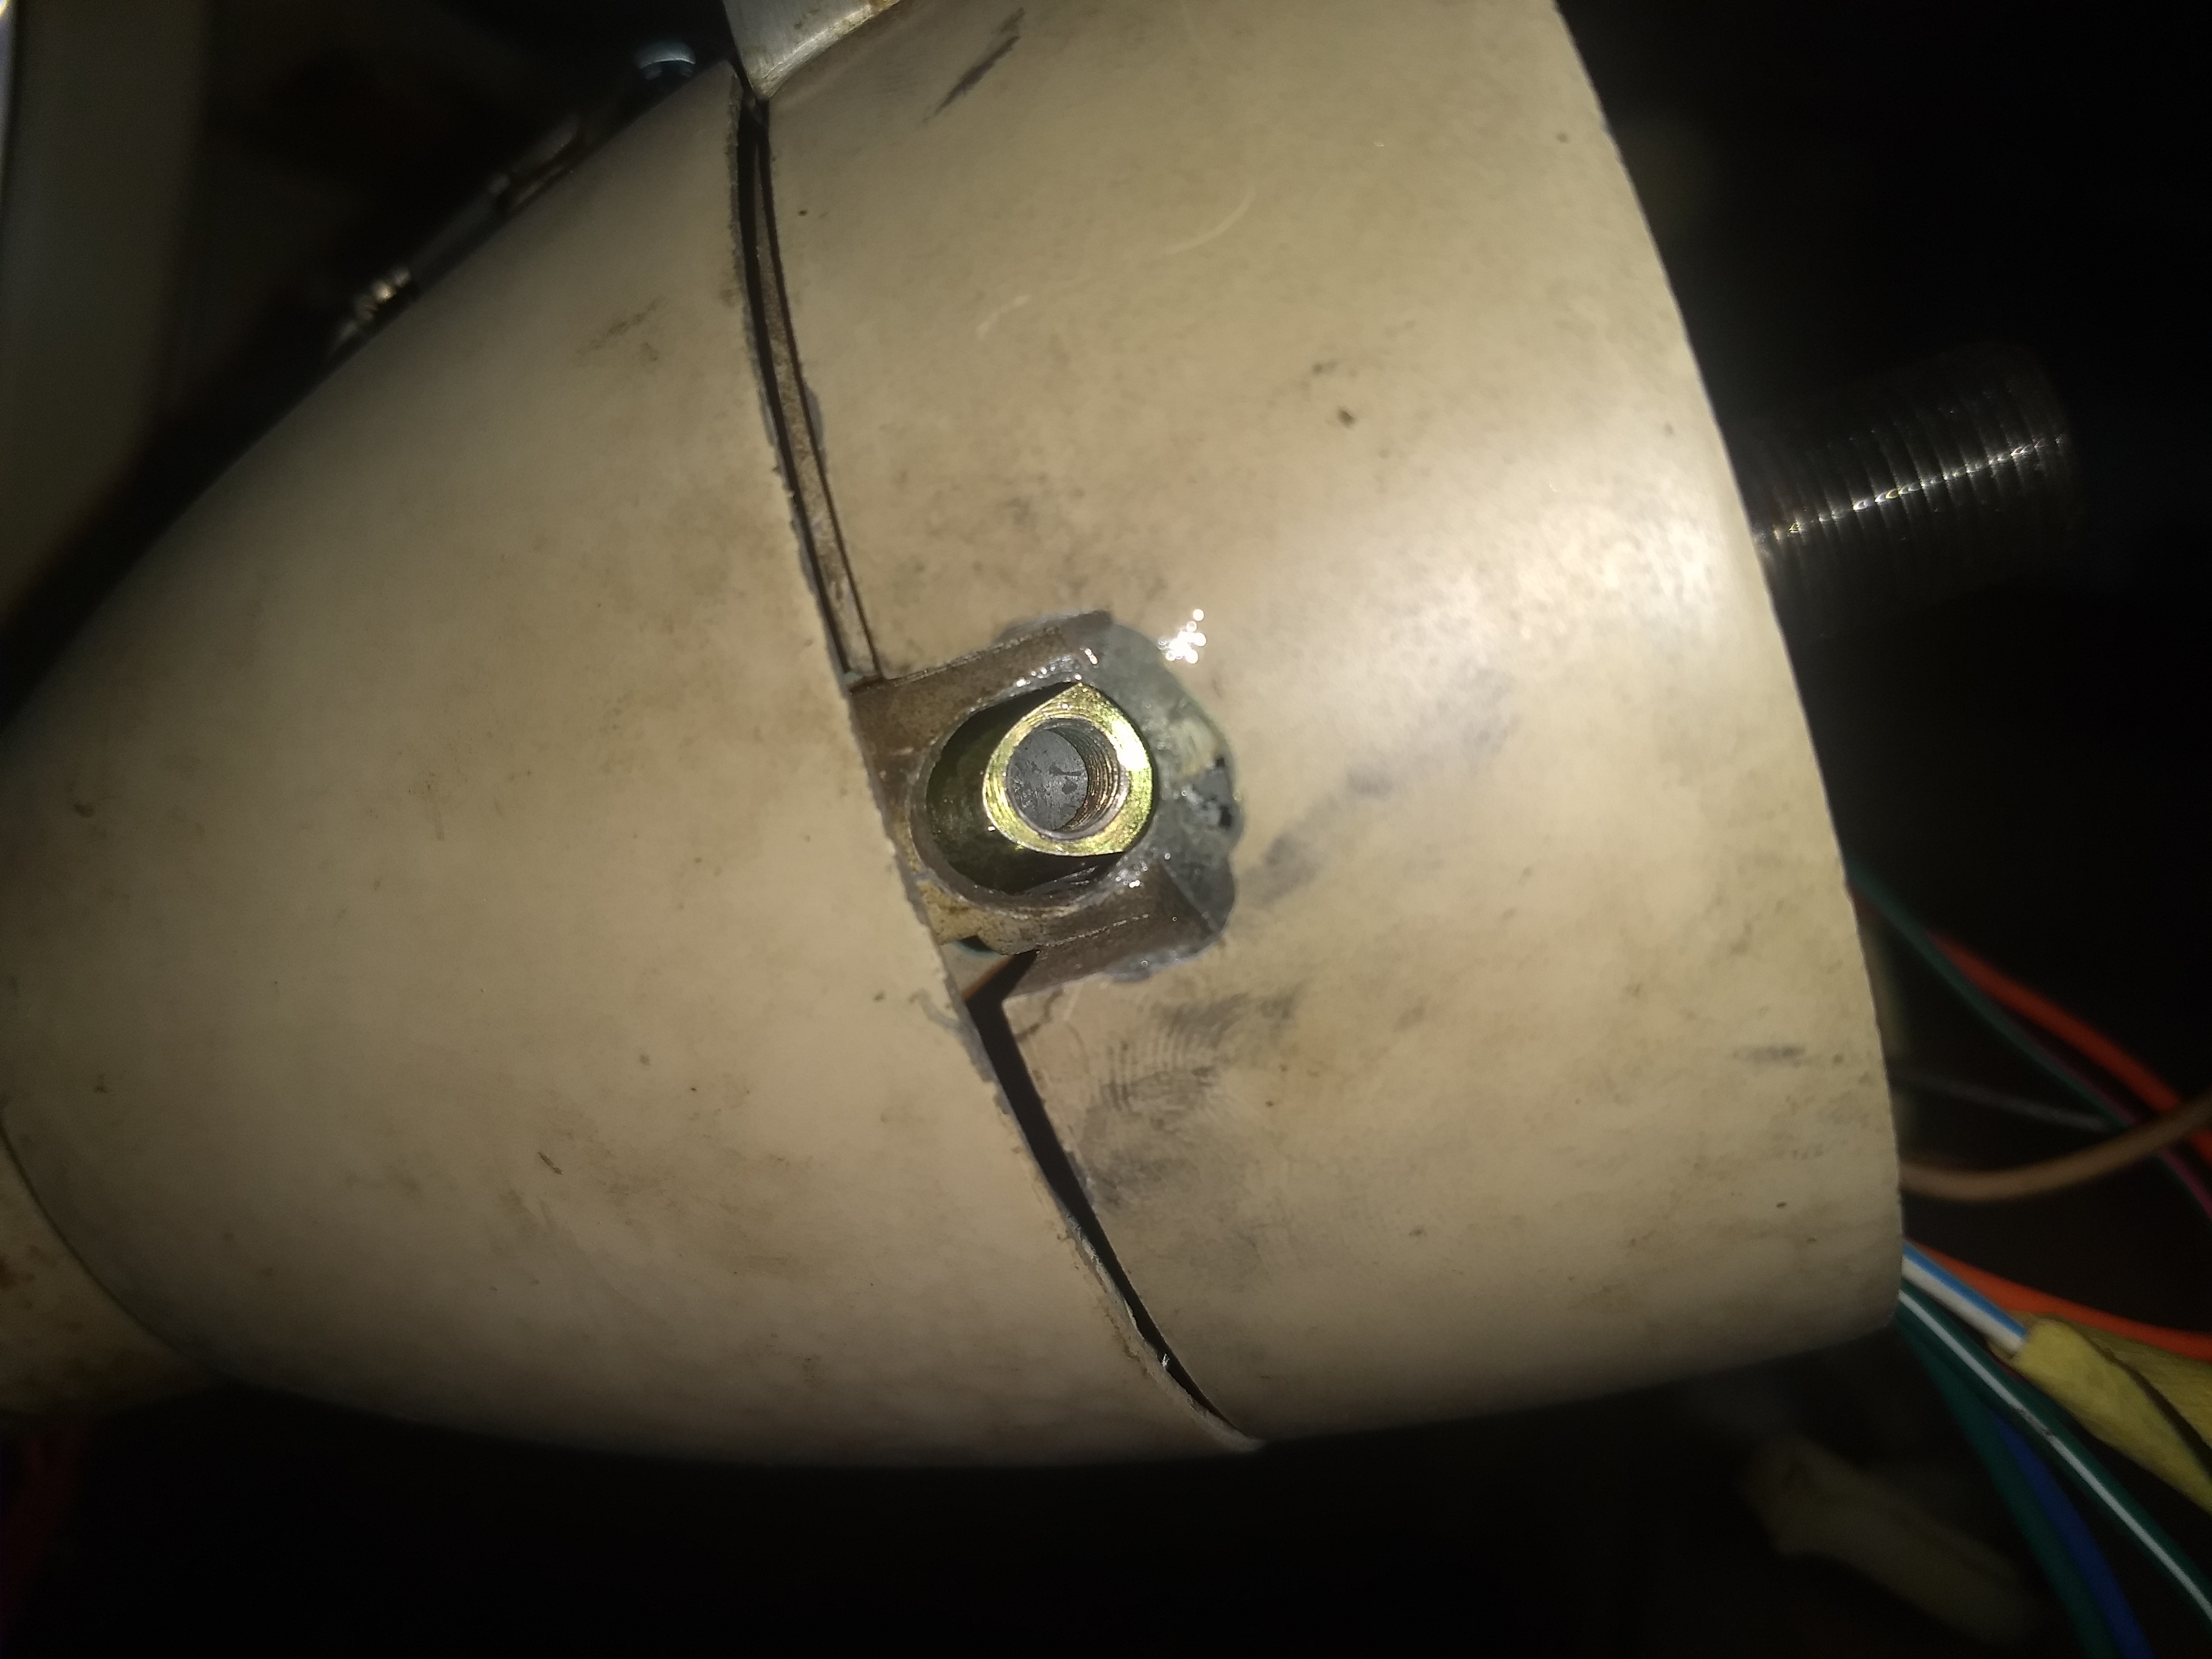
The stem on the mustang switch that extends forward where the signal lever threads into is slightly shorter and at a different angle than the stock switch. It is also threaded differently, the stock FSJ lever is 1/4-20 UNC however the Mustang switch is threaded 1/4-32 UNF. For this Jeep we just wanted it funtional at this mount so we cut off the end of the lever and welded a fine thread 1/4 bolt to the end. We possibly could have threaded the end with a tap or just ordered a Mustang lever if we wanted a cleaner install.
We also had to deal with the angle, to do this we had to use a cutting burr bit and grind out the lever hole in the collar under the steering wheel until the lever would thread in and cycle up and down cleanly. The collar is made of aluminum and should grind out fairly easily. With this done we tested the function prior to putting the rest of the column back together. Below pictures show before and after.
Once assembled we were pleased to see that even with being shorter and the angle being different the turn signal lever was still in a good location.